
EBSILON®Professional Online Documentation


The chapters listed here provide information about editing the components, which can be used for almost all objects regardless of their type:
Alert fields are similar to text fields but with additional properties. Like a text field, they consist of
But unlike standard text fields, these properties are not fixed, but can have up to three different states, depending on the value of a quantity in the cycle (either a component or pipe property or a user-defined variable).
Moreover, they can also be used as buttons.
To create an alert field, you can either use the menu command “InsertàAlarm Field” or the traffic light icon  . The cursor changes to a cross, and a rectangle is displayed to facilitate an exact positioning.
The alert field is created with the default settings:
If you wish to modify the size of the alert field later, select it and drag at the marking points.
If the alert field is selected, you can apply the standard operations (move, copy, delete), like you do to the other objects.
When you open the property window of an alert field (either by double-clicking on it, by using the option “Properties” of the context menu, by selecting “EditàProperties”, or by pressing “Alt-Enter”) and activate the “General” tab, you can specify the general properties of the alert field.
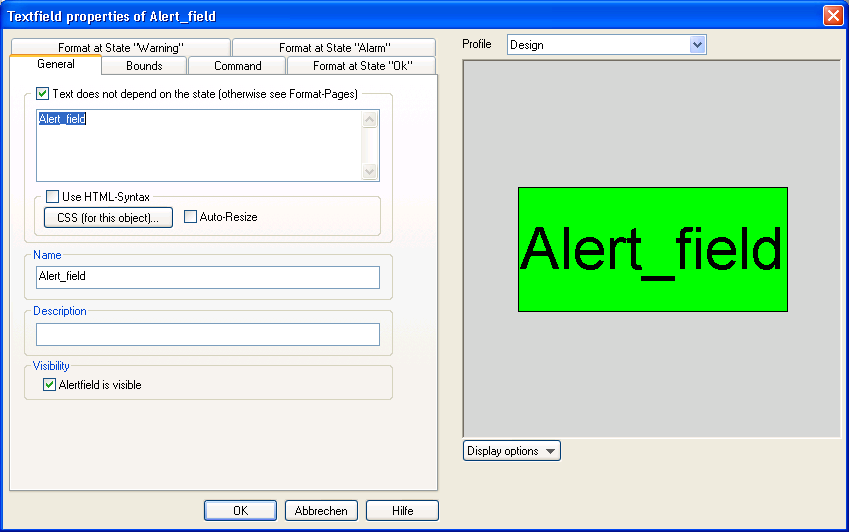
If you want to use the same text for all states, you have to specify this text on this sheet in the “Text” region. Your text may include expressions like in standard text fields.
If you want different texts to be displayed for certain states, activate the checkbox “Text will be defined for each state extra”. In this case, the text field will be disabled here and you have to specify texts for each state separately.
Like all objects in EBSILON®Professional,alert fields have a name and a description that can be specified here. However, it is not possible to access to the text of an alert field from EbsScript or from the Excel interface.
The checkbox “Alert Field is visible” activates the visibility for all states, regardless of the settings of a specific state. If you want the alert field to be invisible in certain states, you have to deactivate this checkbox here.
The visibility can also be changed via EbsScript: Alert_field.visible := true/false; Please note that an alert field is only visible if its “visible” property is “true” and it is visible for its current status.
Additionally attributes for your alert fields like font, alignments, frame have to be defined state-specific.
The “Bounds” tab of the property sheet is use to define the limits for the individual states of the alert field.
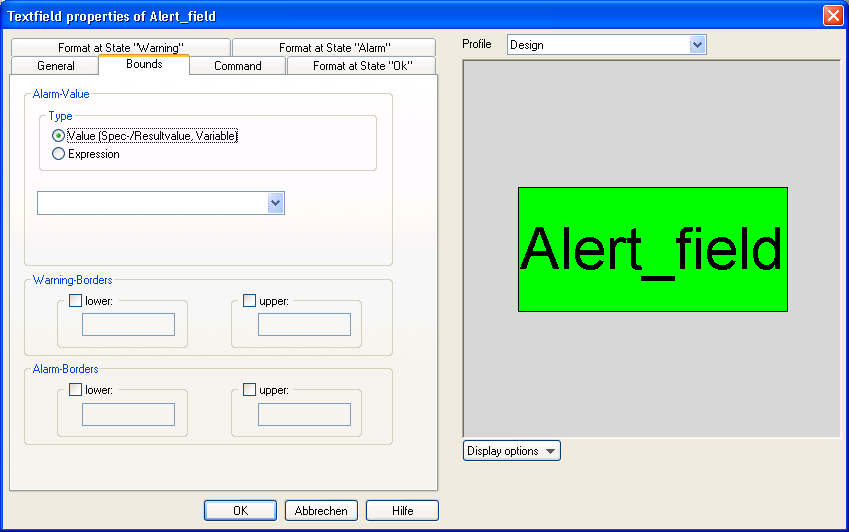
In the first step, the quantity is selected, which is to be linked with the alert field. If you click on the triangle of the input field in the “Alarm value” box, a drop down box is opens:
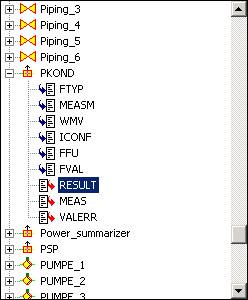
This box displays a list of the objects (components, pipes, variables) of the model. When you click on the “+” sign to the left of an entry, the corresponding entry is expanded and the attributes for that entry are displayed. Specification (input) values are indicated with a blue incoming arrow, calculated (output) values are displayed with a red outgoing arrow. Select one item from this list.
In the next step, you have to define the limits for the warning and alarm states. Each limit is optional. Click on the corresponding “None” checkbox if you do not want to use this limit.
If you want an alert to be indicated when the value of the linked quantity is lower than a certain limit, enter this value in the "lower" field of the section "Alarm borders".
If you want an alert to be indicated when the value of the linked quantity exceeds a certain limit, enter this value in the "upper" field of the section "Alarm borders".
If you want a warning to be displayed if the value of the linked quantity is less than a certain limit, then enter this value in the "lower" field of the section "Warning borders". The warning is displayed as long as the value is not below the limit (or else if no lower alarm limit is defined). Of course, the lower warning limit must be above the lower alarm limit.
If you want a warning to be displayed if the value of the linked quantity is more than a certain limit, then enter this value in the "upper" field of the section "Warning borders". The warning is displayed as long as the value is not above the limit (or else if no upper alarm limit is defined). Of course, the upper warning limit must be below the upper alarm limit.
<hr size=2 width="100%" align=center style='float:aligncenter'>
In the tab "Command" it is possible to activate the alert field as a command button. To do this, check the corresponding checkbox and select the desired command from the drop-down field. Depending upon the command, a parameter, such as the name of an EposProVis-trend curve to be activated, must also be specified.
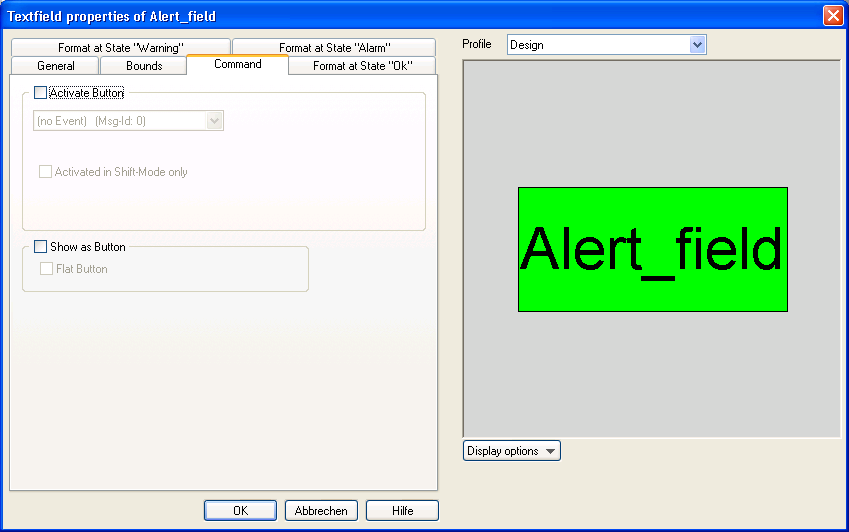
It is possible to restrict the activation to the EposMonitor-mode by checking the corresponding checkbox, so that the button does not disturb while editing the model .
The alert field can be displayed selectively as button (flat or normal) or else can look like a normal text field.
In the property window of the alert field, there are three tabs to specify the properties for specific state:
The handling of all three tabs is identical.
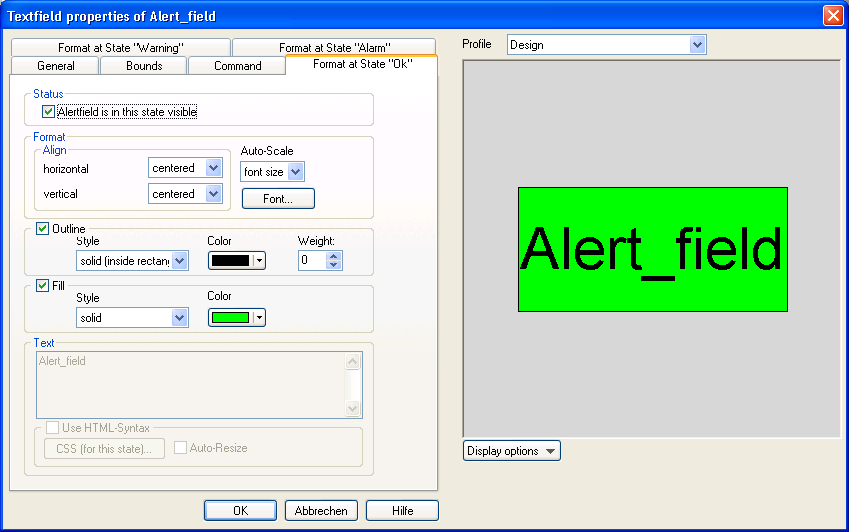
In the “Static” block, there is a check box to define whether the alert field shall be visible in this state or not. Note that you have to deactivate the visibility checkbox in the general tab if you want to hide your alert field in a specific state.
In the “Format” block, you can select a font, the "Align" behaviour and the "Auto-Scaling" behaviour.
In the “Outline” block, you can define the visibility and the properties of the frame of the alert field.
In the “Fill” block, you can define the background of the alert field.
The settings in “Format”, “Outline” and “Fill” are identical to the settings for text fields and described there in detail.
The “Text” block is editable, if you specified to use different texts for each state. In the tab General you can enter the texts to be used. You can type the text using expressions as well.