

To insert a new object into your document, you have to
If an object is selected for insertion and you move the cursor down to the drawing area, the cursor changes to a cross-hair cursor. This cursor is used to determine the place where to draw the selected object.
The specification values of any component inserted will be read from the EBSILON®Professional. This database is a Microsoft Access database and is delivered along with EBSILON®Professional. You will need Microsoft Access, if you want to change the standard default values.
The objects to be inserted differ in their object types:
Objects of all types can be inserted through the menu command "Insertà...".
Components, pipelines, graphical objects, value crosses, text fields, alert fields and buttons can also be inserted with the help of the Component bar.
Further, components can also be inserted via the Component Wizard bar.
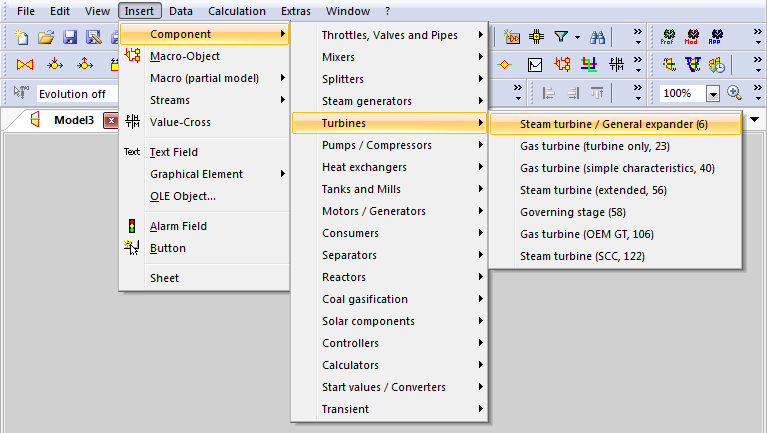
The menu command "InsertàComponent” opens submenus at different levels. The first submenu displayed contains the category of the components, the next level shows the components. A shape for the selected component must be selected from the last submenu displayed.
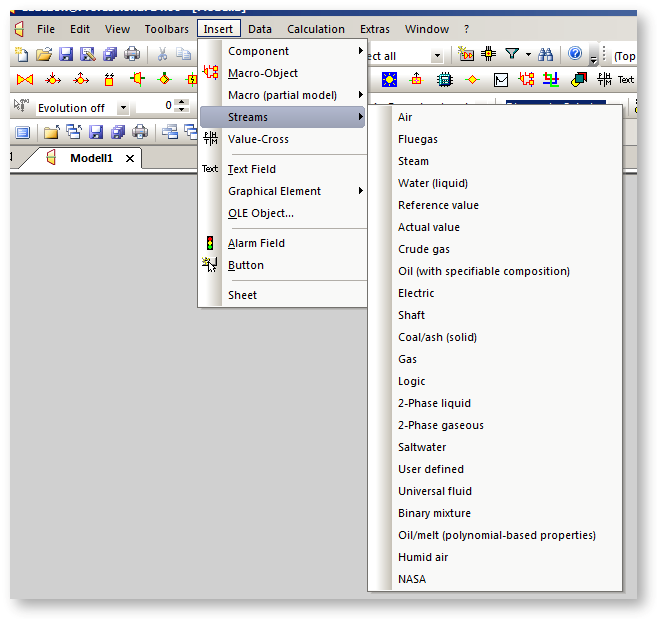
The menu command "InsertàStreams” opens a submenu that displays the available types of streams. Select the desired type of stream.
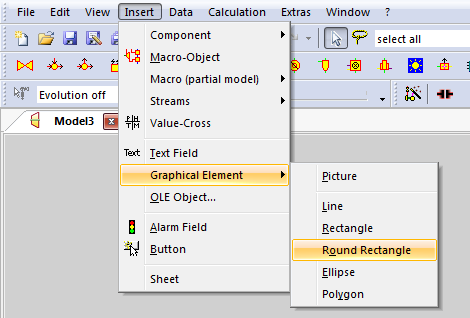
The menu command "InsertàGraphical Element” opens a submenu that displays the available element types. Select the desired element type.
The menu command "InsertàOLE Object...” opens a new dialog "Insert Object".
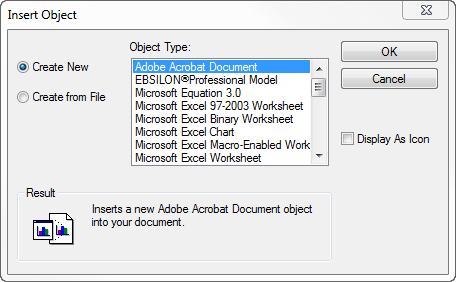
If the OLE object is already present in a file, choose "Create from File" and select the file. Else, choose "Create New" and select the Object Type from the list.
Decide whether the object will be displayed or shown as an icon only.
Press the "OK" button.
Through the menu command "InsertàText field" a text field can be inserted.
Through the menu command "InsertàValue-Cross"value crosses can be inserted.
Through the menu command "InsertàAlarm field" alarm fields can be inserted.
Through the menu command "InsertàButton"buttons (command buttons) can be inserted.

The first 15 icons of this bar refer to the 17 categories of components mentioned above. The remaining icons refer to pipes, graphical objects, value crosses, text fields, alarm fields and buttons (command buttons).
Selecting an icon from the Component Wizard bar opens a submenu, which is necessary in order to request for more information.
This bar comprises of three drop-down boxes (named as ”Component”, ”Shape”, ”Macro-Name” from left to right) and an icon  ("Insert-Macro" to the right of these).

Use the Component Wizard bar to
To select the component to be inserted, simply click in the drop-down lists "Component" and "Shape". The first drop-down list determines the component, the second decides its shape.
In the dropdown box in the component wizard it has been possible to type in the component number or the initial letters of the component type in order to have only the respective components displayed. This has been expanded in such a way that components are not searched for by their initial letters, but the search is for all those containing the respective string of characters. E.g. when typing in “turbine“, “gas turbine“ is displayed, too.
There are two ways to select a macro to be inserted:
 in the right corner of the bar. The window "Insert Macro" opens. If a macro is selected, it description is displayed in the lower field. Upon clicking the "OK" button, the window closes, the cursor changes into a cross-hair cursor and the macro can be inserted.
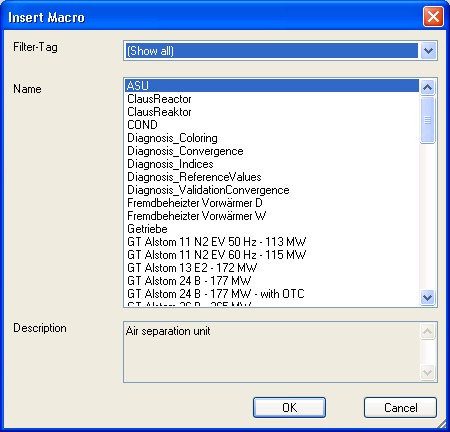
The window "Insert Macro" is displayed. If a macro is selected, it description is displayed in the lower field. Upon clicking the "OK" button, the window closes, the cursor changes into a cross-hair cursor and the macro can be inserted.
If you have selected an object for insertion and the cursor is still outside of the drawing area, move it into the drawing area.
The cursor changes to a cross-hair cursor. Move the cross-hair cursor to the position of the window, where you want the object to be inserted in the drawing or document respectively.
Do not press any mouse button, until you have positioned the cursor correctly.
Press the left mouse button to insert the object. If the cross-hair cursor is still visible, it is possible to
If the cross-hair cursor changes after having clicked the left mouse button, the insert process could not be executed and has been stopped. The insertion may fail, because an object already exists at the position chosen. Keep in mind, that an object
You can stop the insert process at any time by pressing the right mouse button with the cross-hair cursor visible. The cursor changes back to its normal look.