EBSILON®Professional Online Documentation


The chapters listed here provide information about editing the components, which can be used for almost all objects regardless of their type:
The following graphical elements are available:
|
Line |
|
|
Rectangle |
|
|
Rectangle with rounded corners |
|
|
Ellipse |
|
|
Polygon |
|
|
Picture |
A graphical element comprises of
You can change all of its properties (size, background colour, position, orientation, …).
Do the following steps to insert a graphical element:
There are some differences while inserting a polygon and a picture.
A polygon consists of a number of points, which are connected by lines and which form a closed polygon.
If you keep the left mouse button pressed while moving, a lot of points are created, forming an arbitrary line.
If you do not keep the left mouse button pressed while moving, you may position the next point of the polygon with your next mouse click.
The drawing of a polygon has to be ended by
To insert a picture do the same steps as described above:
You will see a box with the inscription “no image”:

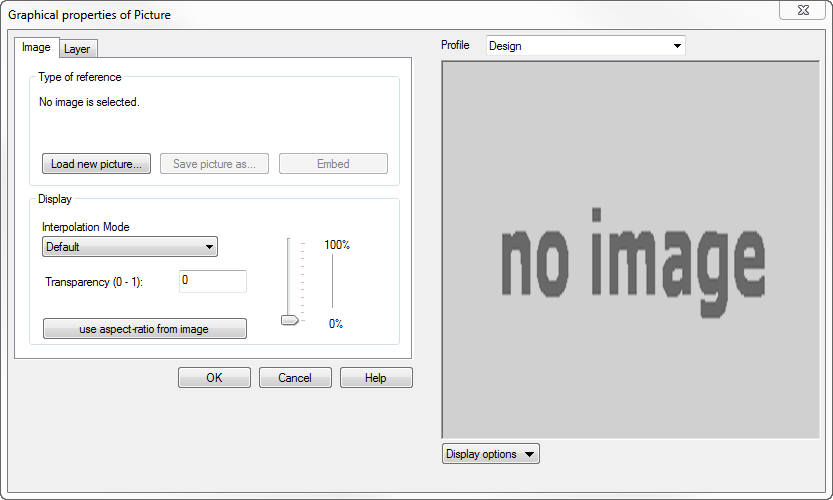
As soon as you released the mouse a window opens where you can assign a picture of your choice by clicking on the button “Load new picture…”.
After the picture is assigned you have the opportunity to “embed” it in EBSILON®Professional.
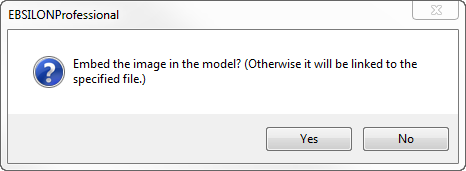
If you decided to embed the picture, it will be saved in the .ebs file. Otherwise the picture is only linked to the original file. You can decide on embedding the picture afterwards as well, by clicking on the “Embed” button.
The quality of the representation can be changed through different interpolation modes.
The picture can be inserted in the background or in the foreground layer. You can also set whether the size of the element should be changeable and – in the case of embedding – whether the update should be automatic.
The intensity of the representation can be changed through a transparency factor that can be typed or set with the help of the sliders. This makes a picture even in the foreground transparent so the model behind it will be recognizable.
The picture as graphical element represents an alternative to the OLE Object Bitmap. Through integrating the pictures directly in EBSILON®Professional the picture-construction becomes quicker (picture-construction is optimized through the help of GDI+) and a wider diversity of picture types can be used.
In addition, it is possible to rotate or mirror a picture-type graphical element.
Editing the properties of graphical objects
You can change all the properties of a graphical object (background colour, position, orientation, …).
There are several ways to open the ”Graphical Object Properties” window:
The left part of the dialog is used to edit the properties of the object.
The right part displays the object as it is placed into the document.
The following buttons are present in the lower part of the window:
Within the "Outline" area, you can change
of the outline.
Within the "Fill" area, you can change
of the object background.
In the tab ”Layer” you can assign the object to