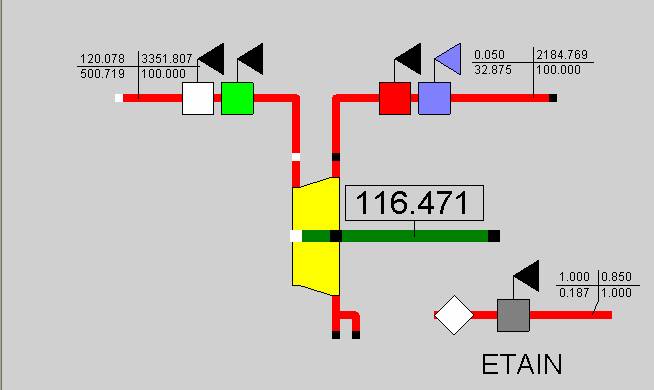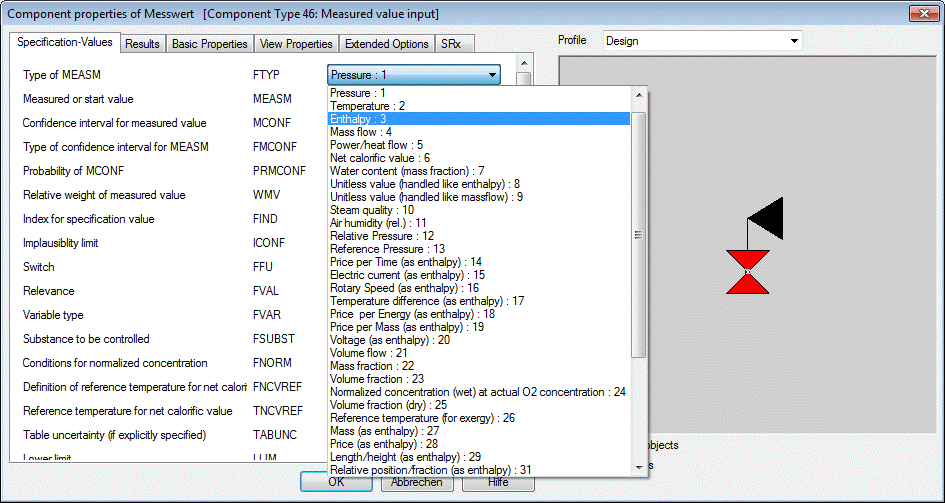

The specification values are validated with the help of pseudo measurement points, which are different from the actual measurement point only in that no real measurement is present. The measurement value and its confidence interval are filled with estimated values. To do this, a measurement point (component 46) is placed on an auxiliary line in the model, which takes up the value of the observed specification quantity. For instance, to validate the isentropic efficiency of a turbine disc, a measurement point is set on a separate steam line for a dimensionless quantity in the figure shown below. Pressure and mass flow of this auxiliary line are arbitrary (assumed here as equal to 1), the dimensionless quantity is handled here formally as specific enthalpy. The physical quantity selected for that is irrelevant.

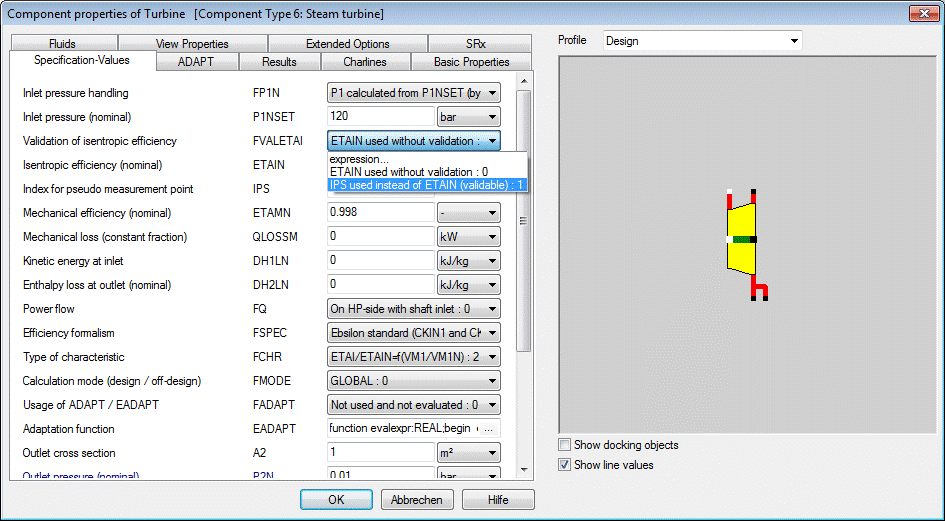
It must be set in the observed component that for the specification quantity (here the isentropic efficiency) the value of the pseudo measurement point is to be used and not the entered value. This is set with the help of the corresponding flag (here FVALETAI). Only those specification values can be validated directly, for which such a flag exists. For other specification values, one can take the help of an EbsScript for determining the confidence intervals.
A positive whole number is to be entered in the field IPS, which contains the index for the pseudo measurement point.

Exactly this index is also to be given for the specification of the pseudo measurement point under FIND. The remaining parameters of the pseudo measurement point (value, confidence interval) are to be entered as for a normal measurement point.

After the calculation, one finds the validated specification value and the calculated confidence interval in the pseudo measurement value.
Moreover, in the design case the validated specification value is also entered in the component specifications.