In This Topic
Implementing a Dialog
- Click with the right mouse button on the top-most folder in the sheet "Resources"
- Open the window "Insert Resources" with "Insert"
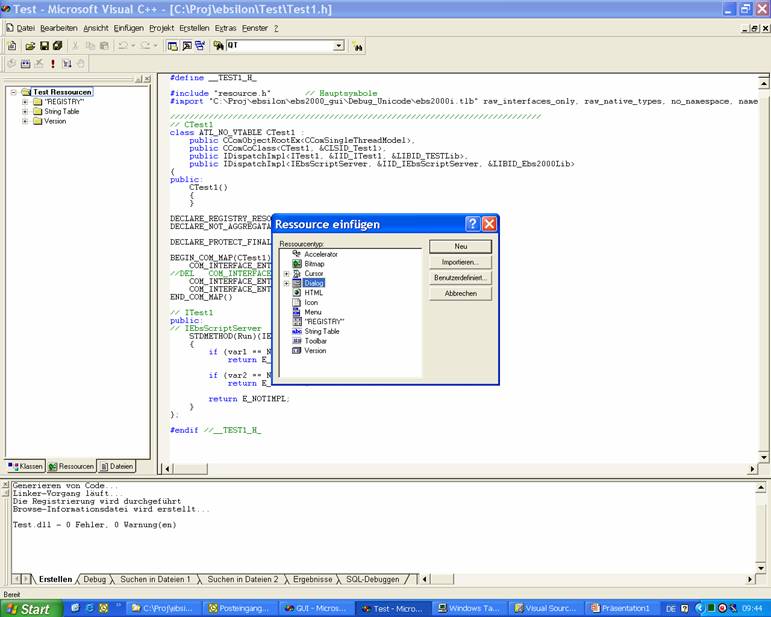
- Select "Dialog" and click on "New"
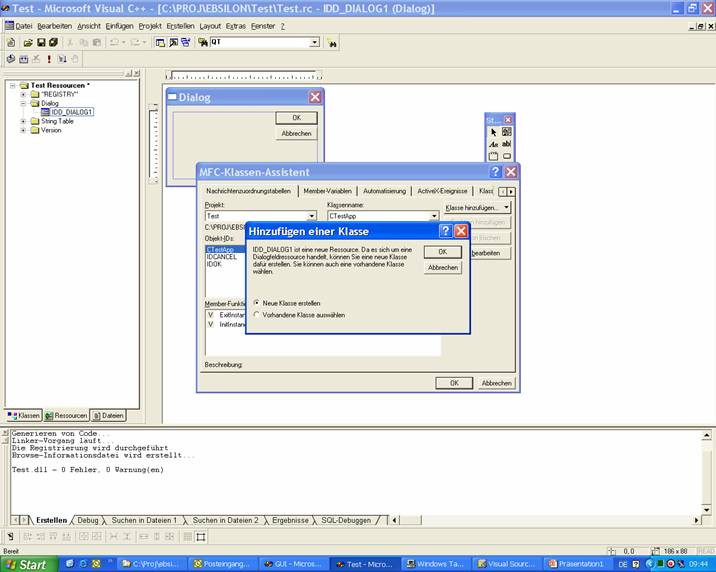
- Right-click on the image of the dialog window
- Click on the entry "Class Wizard"
- Select "Create New Class" and click on "OK"
- Define a name for the dialog class (normally C…Dialog):
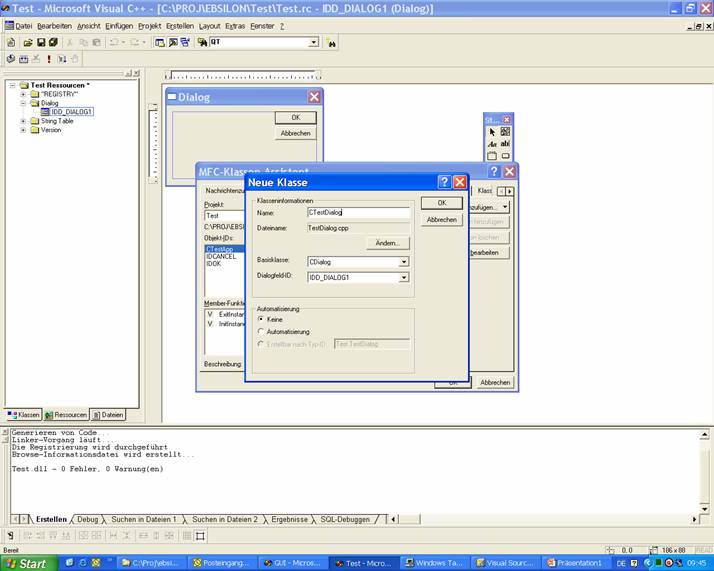
- Click on "OK"
- Close the Class Wizard with "OK"
- Integrate the necessary operating elements in the dialog with the help of the Resource Editor
- Define the member variables and methods with the help of the Class Wizard
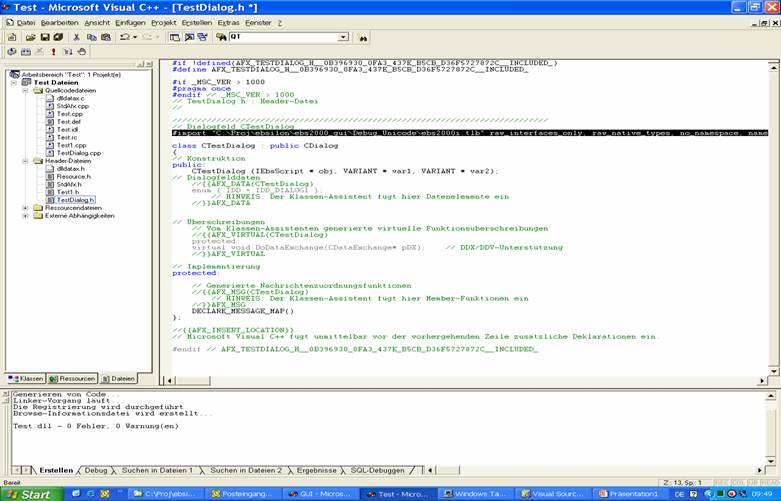
- Finish the implementation of C…Dialog.h and C…Dialog.cpp
- Import the file "ebs2000i.tlb" in the C…Dialog.h-file. This is done by the following line:
#import "C:\Programme\KETEK\EBSILONProfessional 7.00\ebs2000i.tlb" raw_interfaces_only, raw_native_types, no_namespace, named_guids
After creating the dialog, a jump function must also be implemented, which is then called from EbsScript.


